
First activation
Objectives
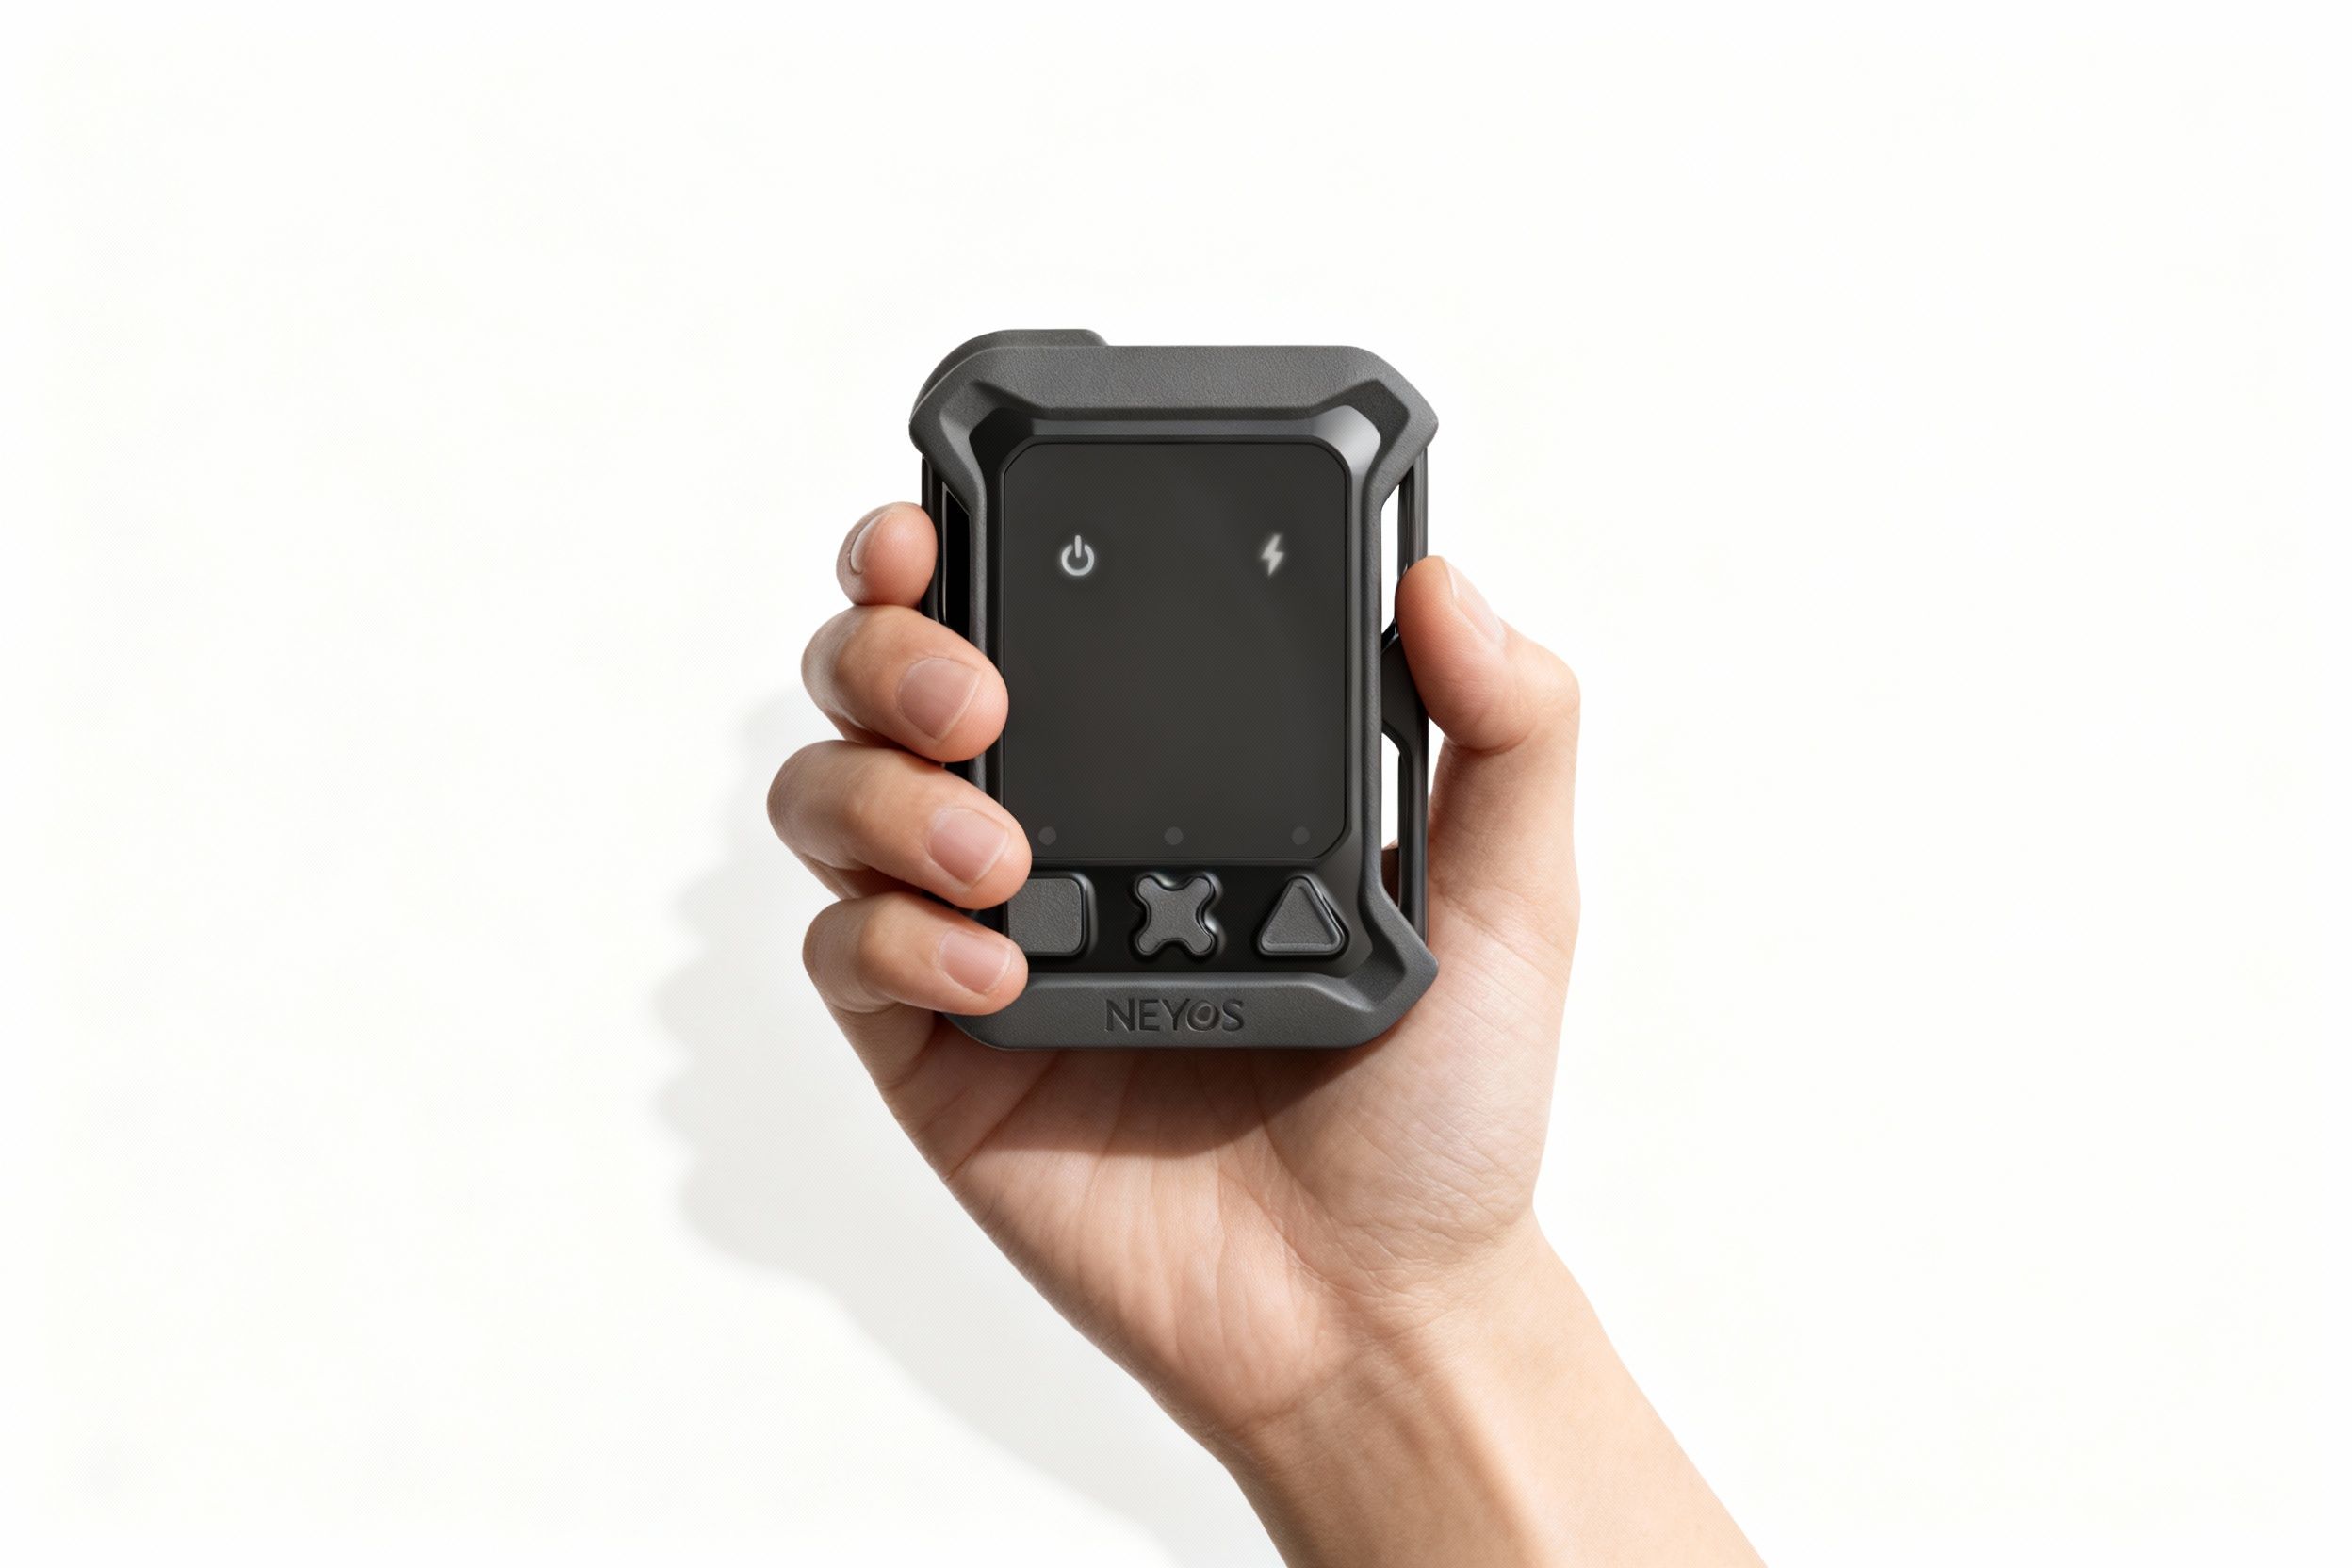
You have just received your Neyos tracker. In this guide, you will:
Unbox and verify contents
Make sure you have all the items in the box:
- The OTRAC tracker
- The black magnetic charging cable
- The white update cable
Charge the tracker for the first time
Connect the tracker with the provided magnetic cable for a full charge (approximately 3 hours):
- Blinking light : charging in progress
- Solid green light: charging complete
The first charge is essential to optimize battery life.
Activate your tracker and link it to your Neyos account
- Go to platform.neyos-equipment.com
- Create your account if needed
- Go to the tracker menu. You will see all trackers connected to your account.
- Search for the tracker by its serial number S/N
First location test
Perform a test to validate proper operation of your tracker:
Power on the tracker
The tracker's power button has a built-in safety feature that prevents accidental presses. A long press is required to activate power-on and ensure a reliable system startup.
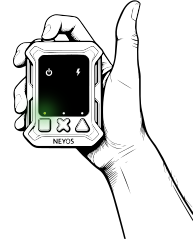
Press the ON/OFF button
The first LED at the bottom left lights up green to signal the start of the power-on sequence.
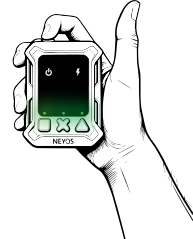
Hold the button down
The LEDs light up one by one in a circle until reaching the ON LED. If you release before the circle is complete, the sequence is interrupted and the animation returns to the first LED: you must keep the button pressed throughout.
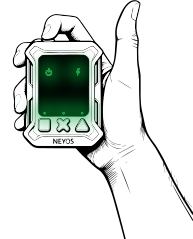
Verify successful startup
Once the sequence is complete, all LEDs blink three times to confirm that the OTRAC tracker is ready to operate.
Network connection
- The power LED blinks orange: OTRAC is scanning surrounding cellular networks. This operation may take a few minutes. Learn more about network coverage
- Once connected, the power LED turns green: the tracker is transmitting its messages.
Data visualization
- Data is then automatically updated in the Neyos platform.