
Visual guides
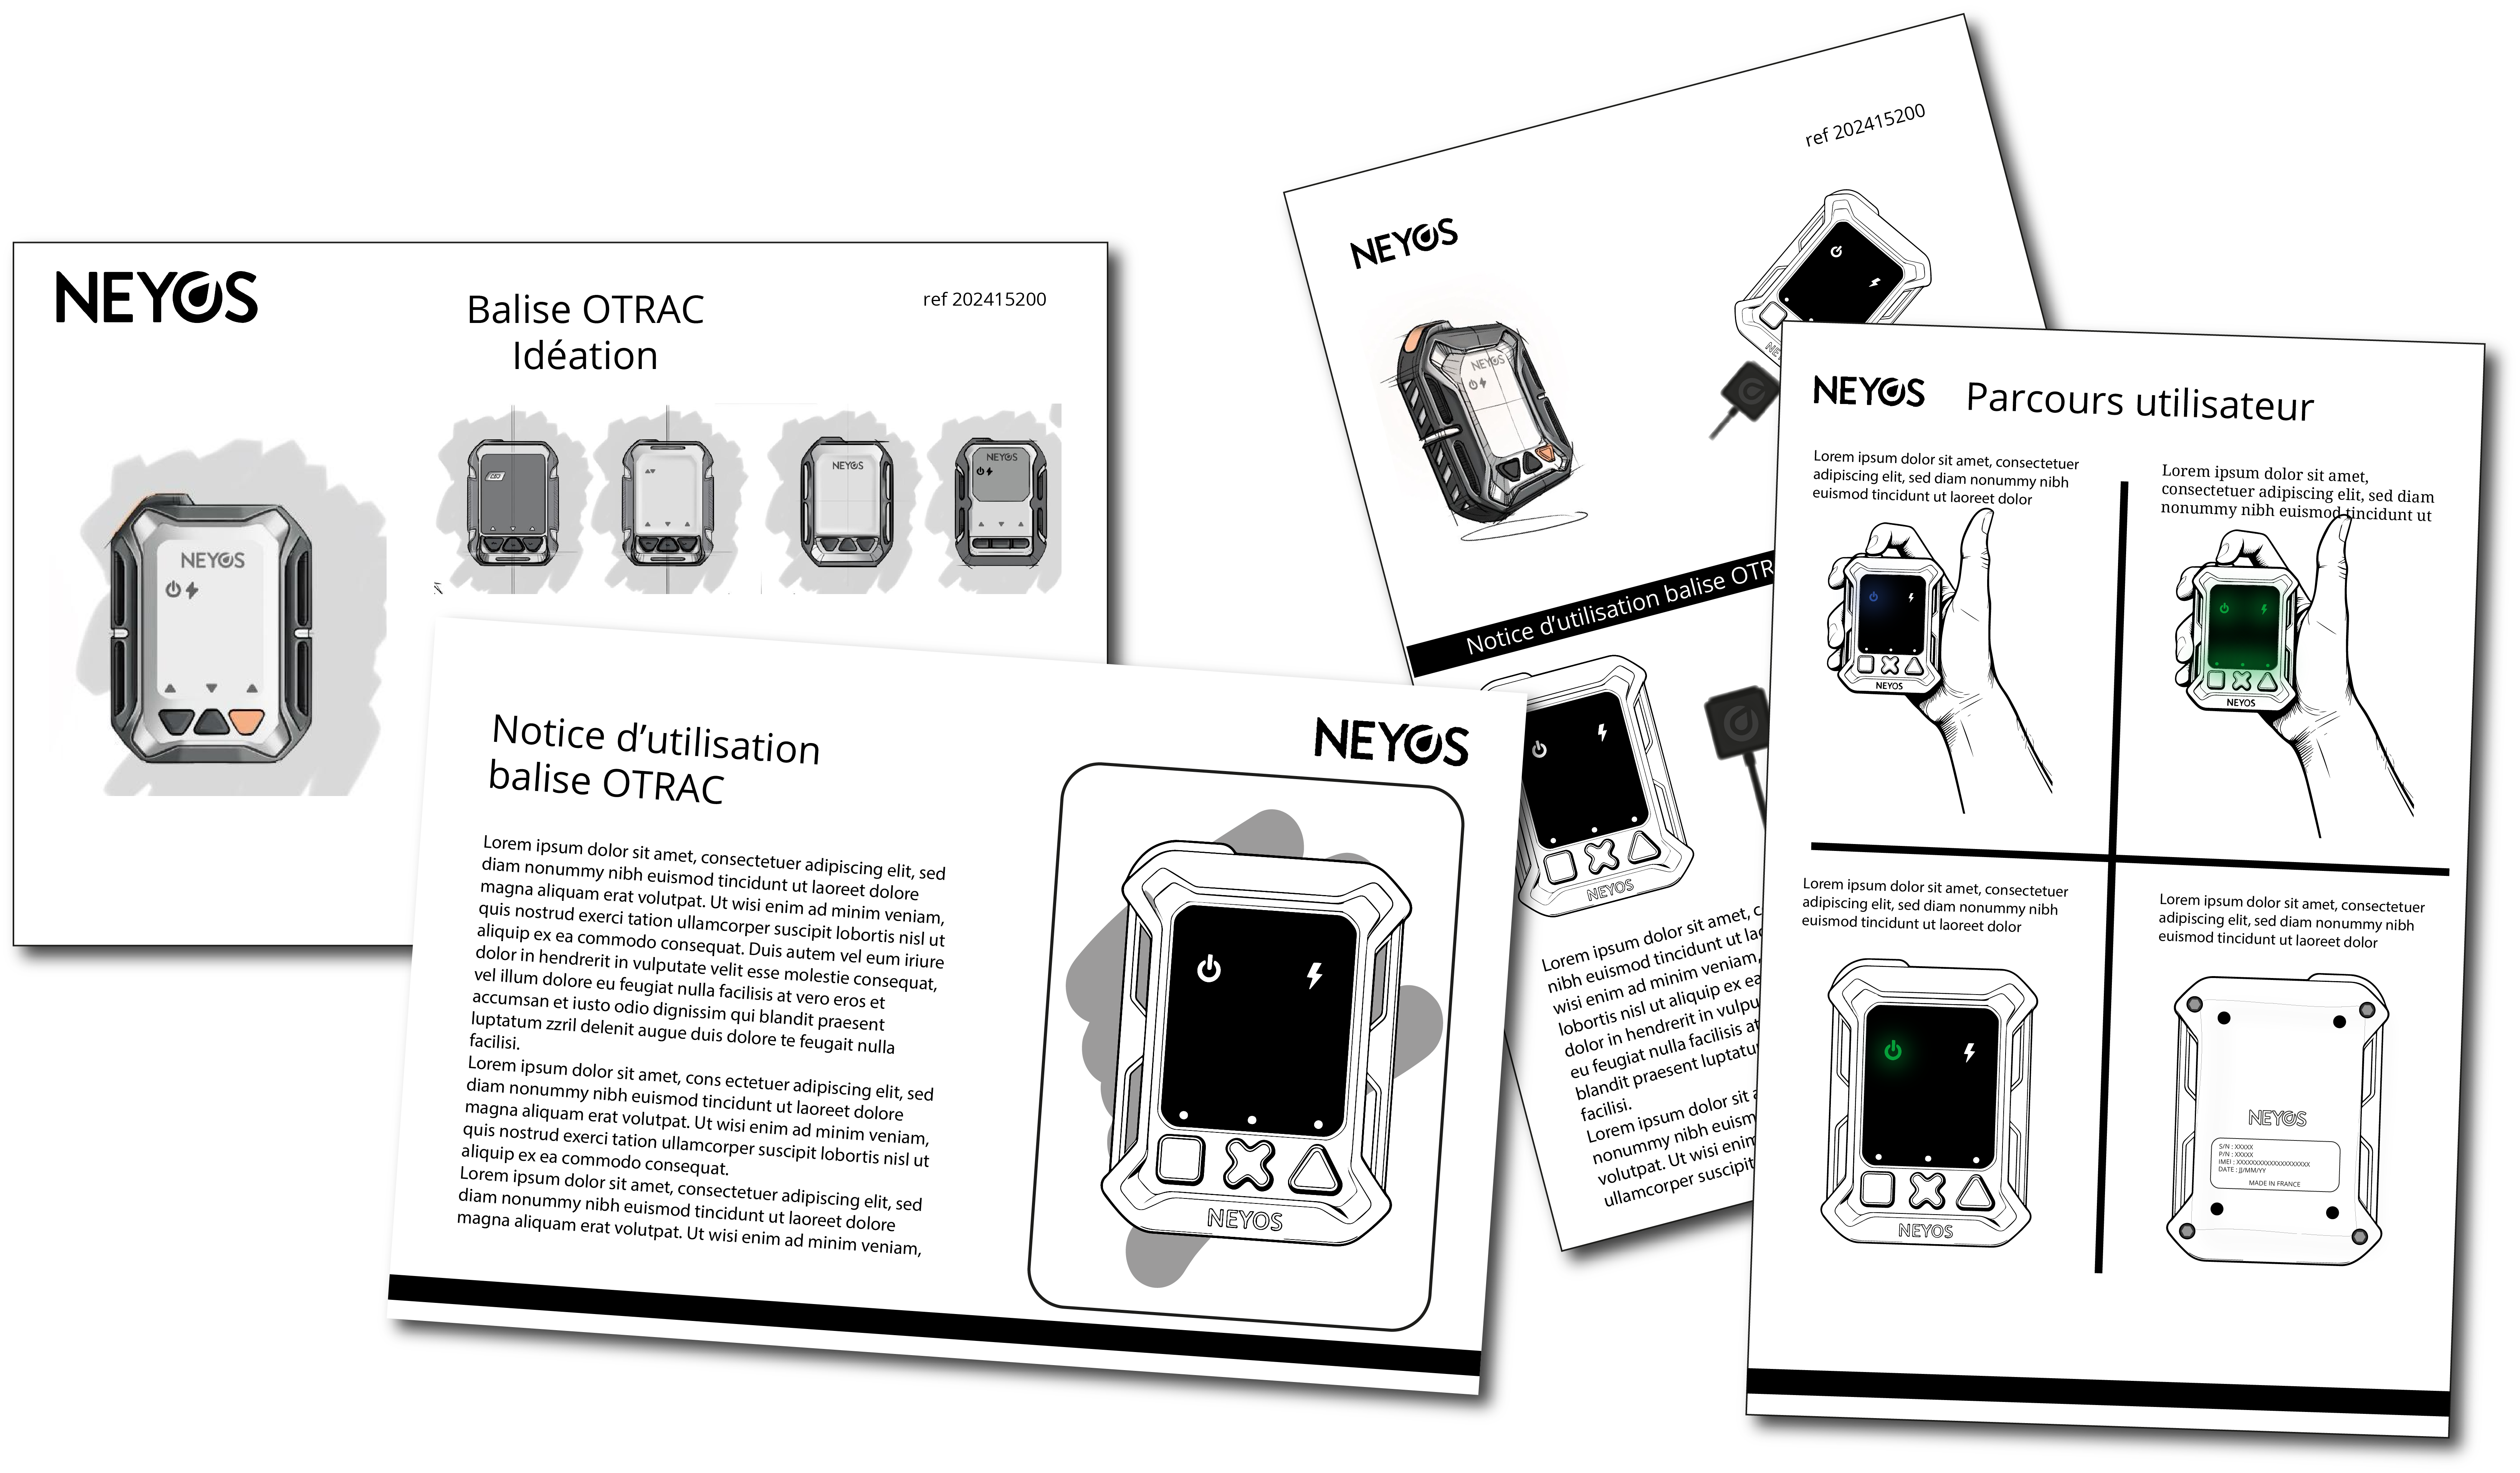
This visual guide illustrates the main interactions with your Neyos OTRAC tracker: startup, message sending, charging and interpretation of light indicators.
Box contents
Your NEYOS OTRAC tracker is delivered with all the accessories needed for commissioning, charging and configuration.
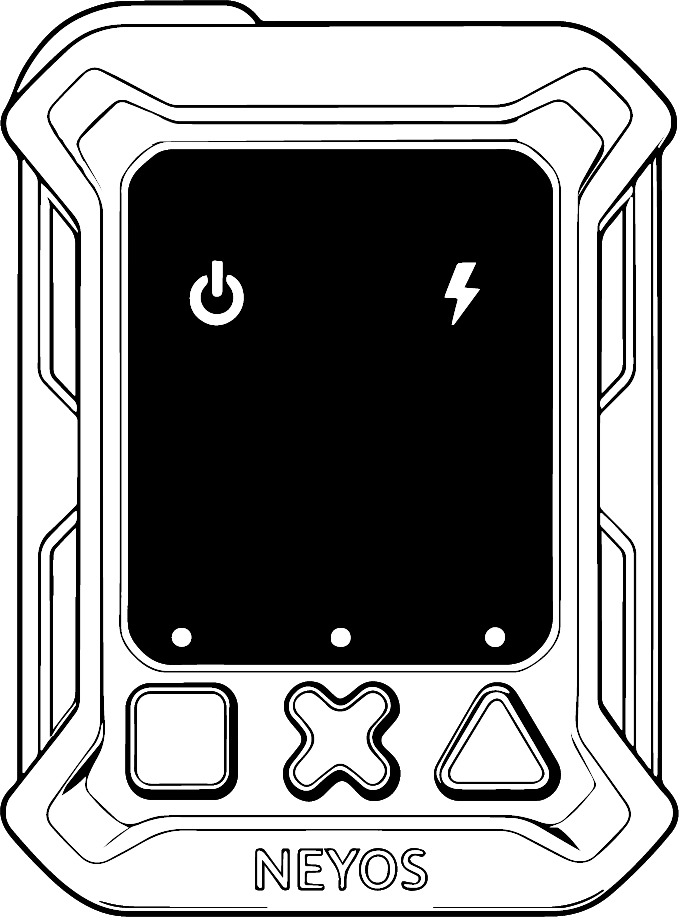
OTRAC tracker
The main equipment. The tracker handles GSM and satellite communication, data collection and message sending to the Neyos platform.
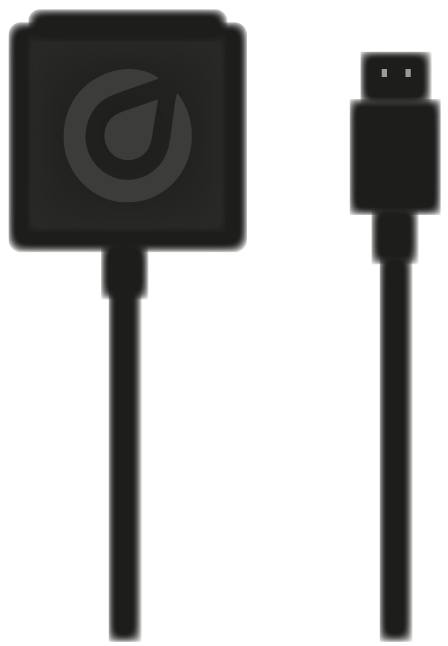
Black magnetic charging cable
Power cable with Neyos magnetic connector. It allows charging the tracker through a standard USB port.
White programming cable
USB cable intended for software update and advanced programming of the tracker.
Product identification
Each NEYOS OTRAC tracker has several unique identifiers, engraved on the back of the product. They guarantee traceability, maintenance and activation on the Neyos platform.
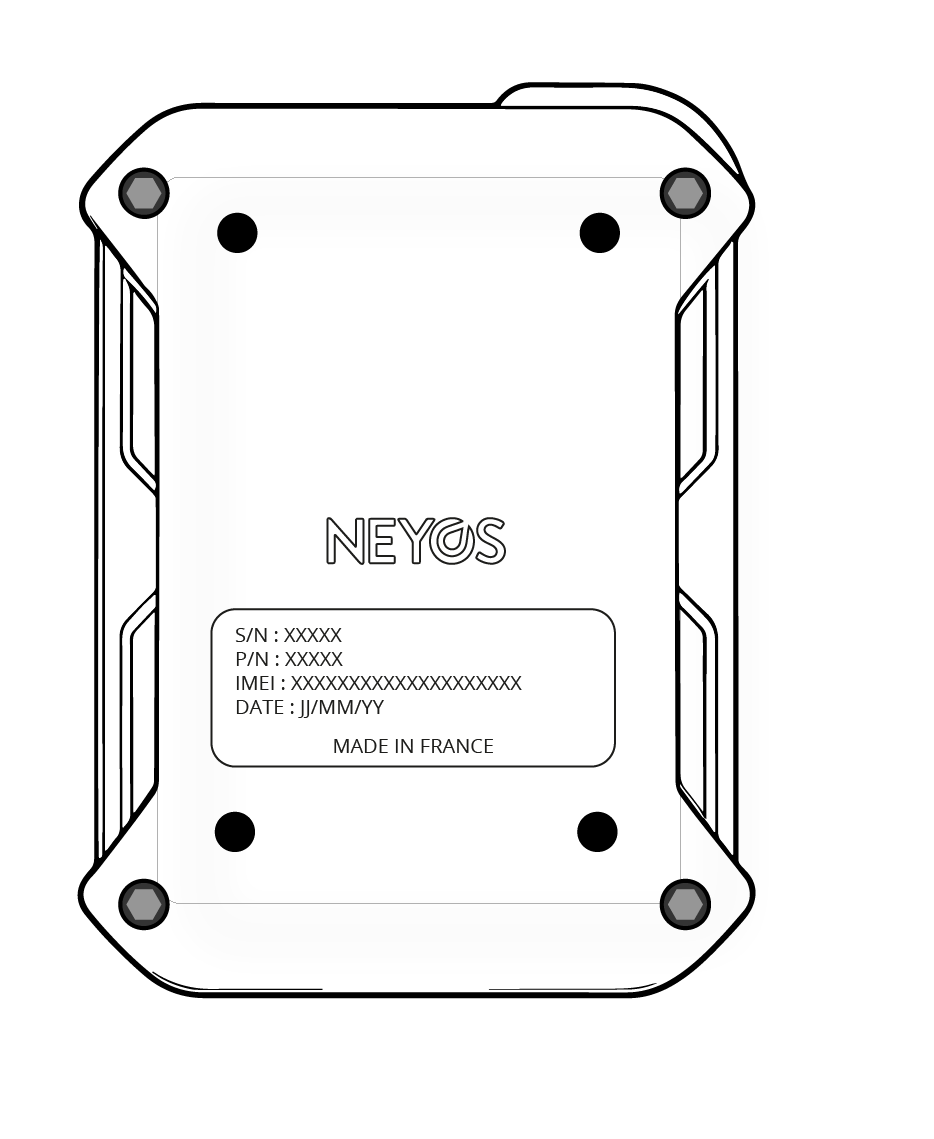
| S/N | Unique number. Customizable. |
| P/N | Product reference. |
| IMEI | Network identifier. |
| Date | French production. |
Important: Note the S/N during first installation.
Product interaction
How to read and interpret its signals?
Each action on the tracker (startup, sending, charging) triggers a specific light sequence. These visual sequences allow confirming the system state without going through the platform.
Startup sequence
The tracker's power button is equipped with a safety feature preventing accidental presses. A prolonged press is required to activate power-on and ensure reliable system startup.
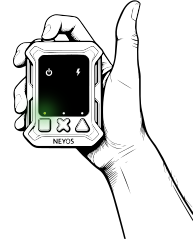
Press the ON/OFF button
The bottom-left LED lights up in green to signal the start of the power-on sequence.
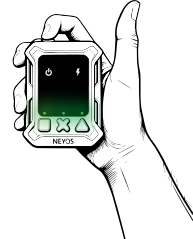
Hold the button down
The LEDs light up one by one in a circle until reaching the ON LED. If you release before the circle is complete, the sequence is interrupted and the animation returns to the first LED: keep the button pressed all the way through.
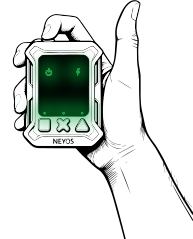
Verify successful startup
Once the sequence is complete, all LEDs blink three times to confirm that the OTRAC tracker is ready to operate.
Power-off sequence
Power-off follows the same logic as power-on, with a red animation to signal the shutdown.
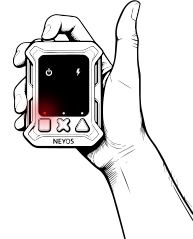
Press the ON/OFF button
The bottom-left LED lights up in red to signal the start of the power-off sequence.
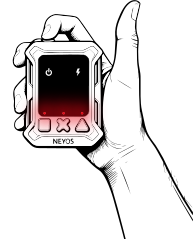
Hold the button down
The LEDs light up one by one in a circle until reaching the ON LED. If you release before the circle is complete, the sequence is interrupted and the animation returns to the first LED: keep the button pressed all the way through.
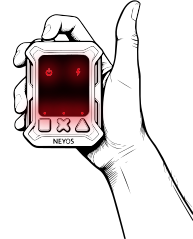
Verify successful shutdown
Once the sequence is complete, all LEDs blink three times in red to confirm that the OTRAC tracker is off.
Button action sequence
This procedure describes the visual behavior of the tracker when sending a message, regardless of which button is used
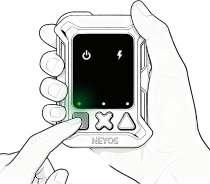
Press the button
A green LED starts blinking: keep the button pressed for the configured duration (3 seconds by default) to validate the press.
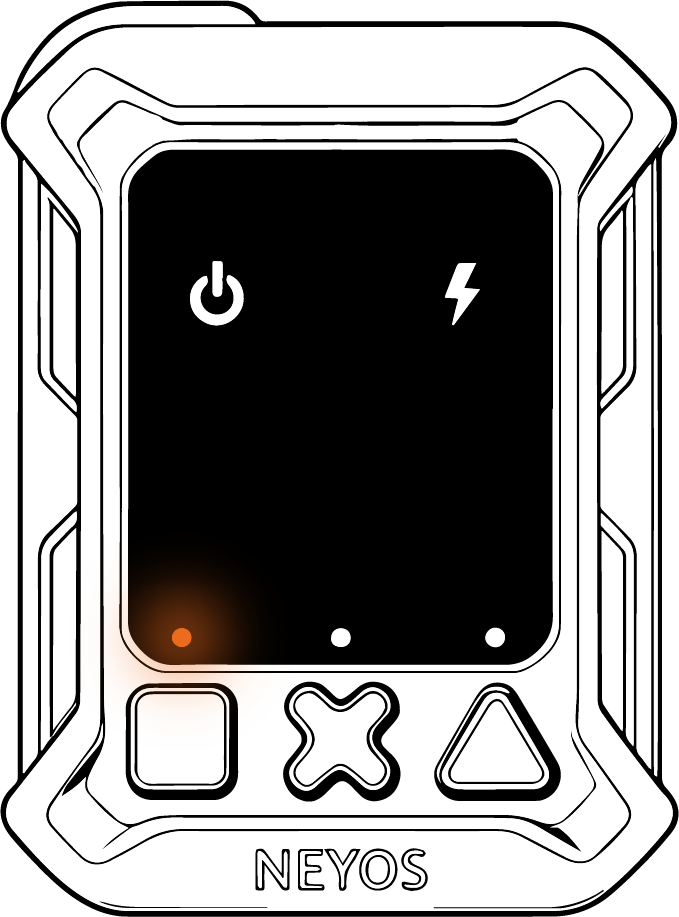
View sending in progress
An orange LED blinks: the message is being transmitted via the available network, according to configuration.
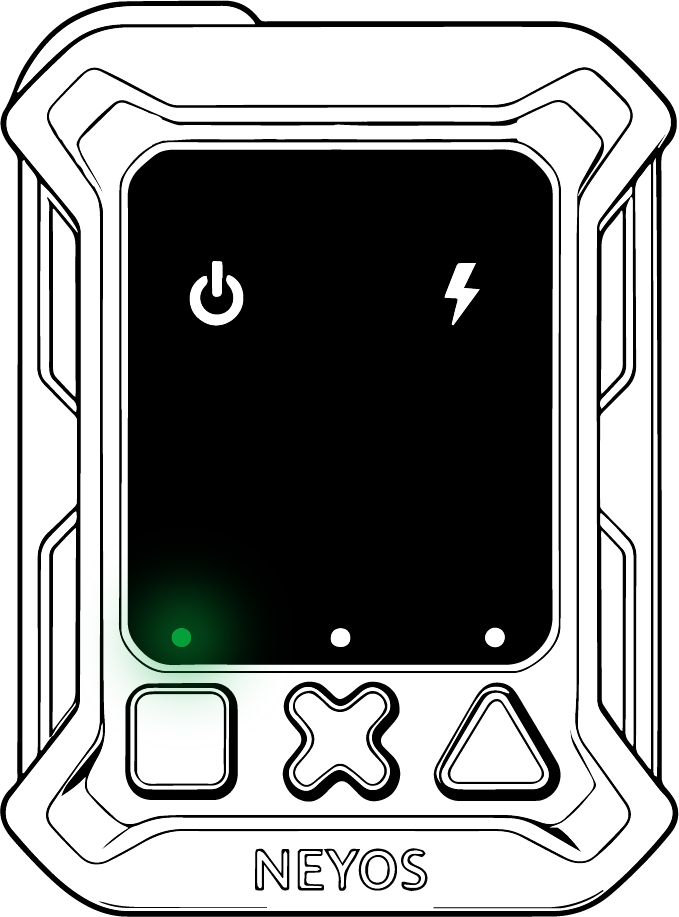
Send confirmation
The green LED becomes steady: the platform has received the message and an acknowledgment has been returned to the tracker.
Charging sequence
Tracker charging is done with the magnetic cable provided when purchasing your tracker. Follow the procedure below to verify proper charging progress.
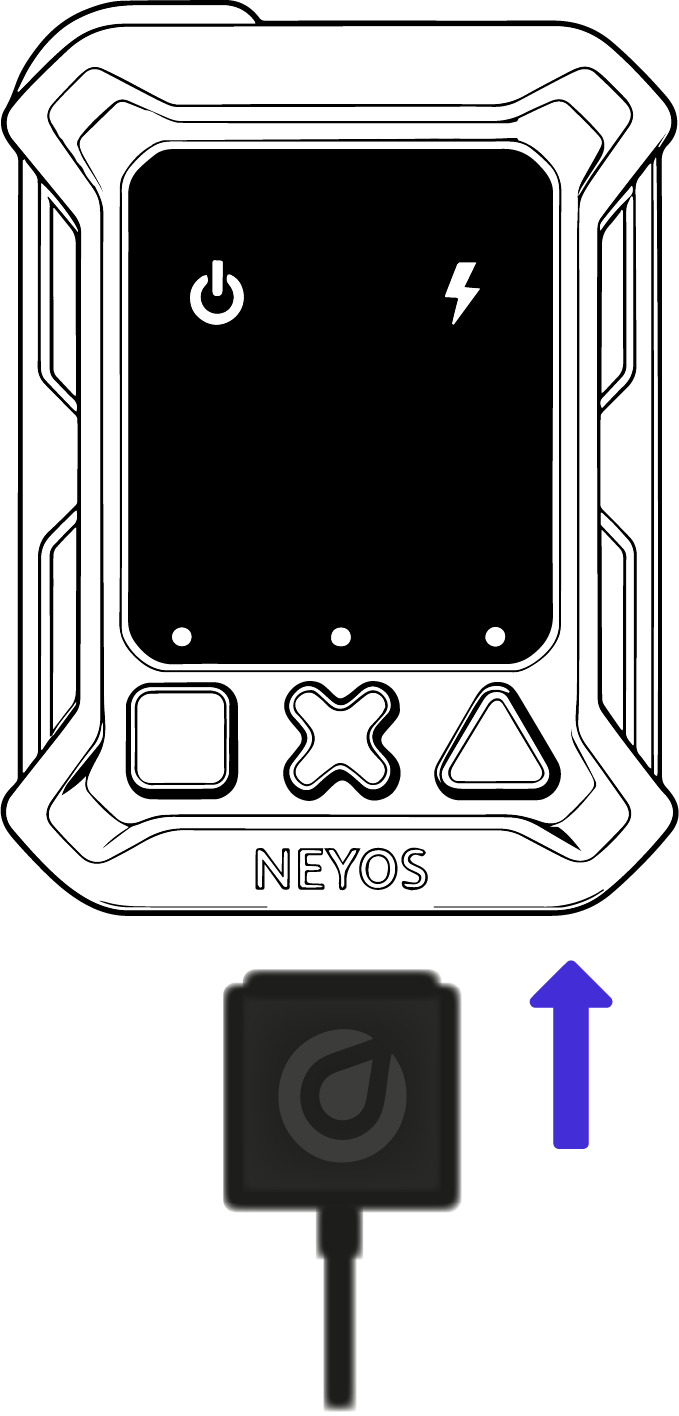
Connect the Neyos magnetic cable
Make sure the Neyos logo on the cable is facing you before connecting. The magnet automatically positions the cable in the correct direction.
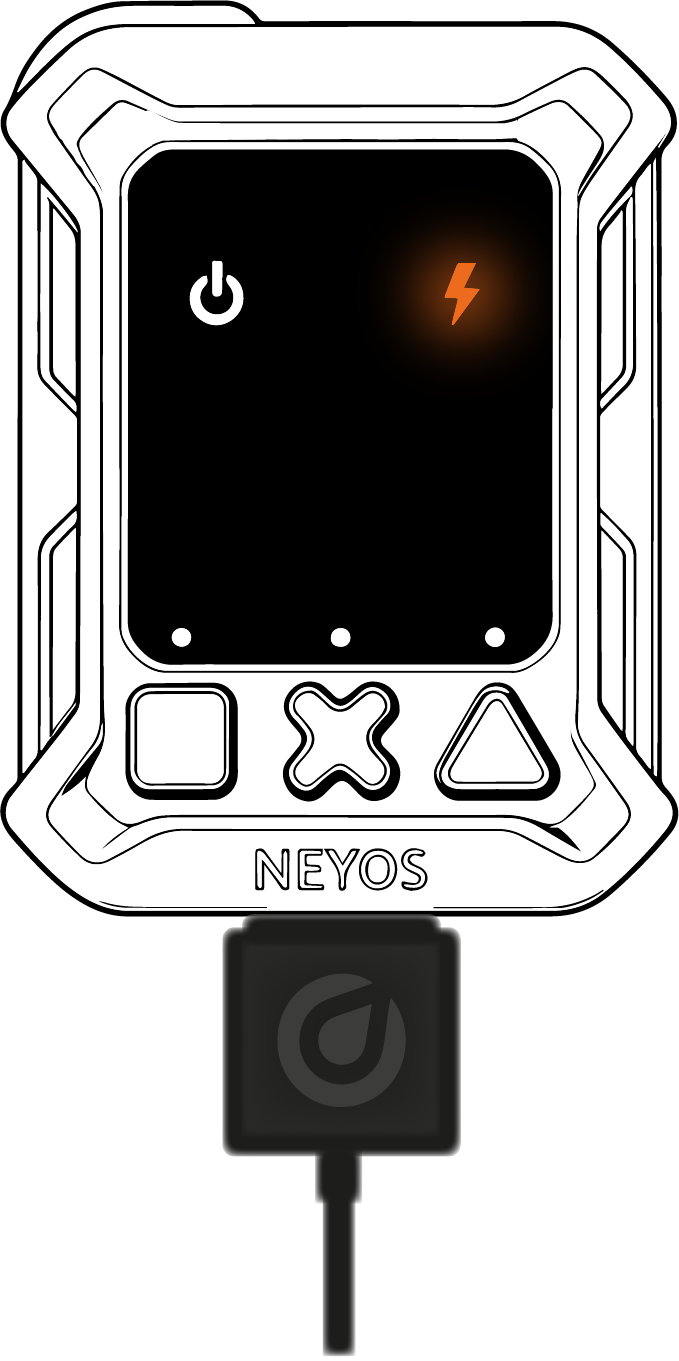
The tracker is charging
The status LED stays solid orange as long as the battery is charging.
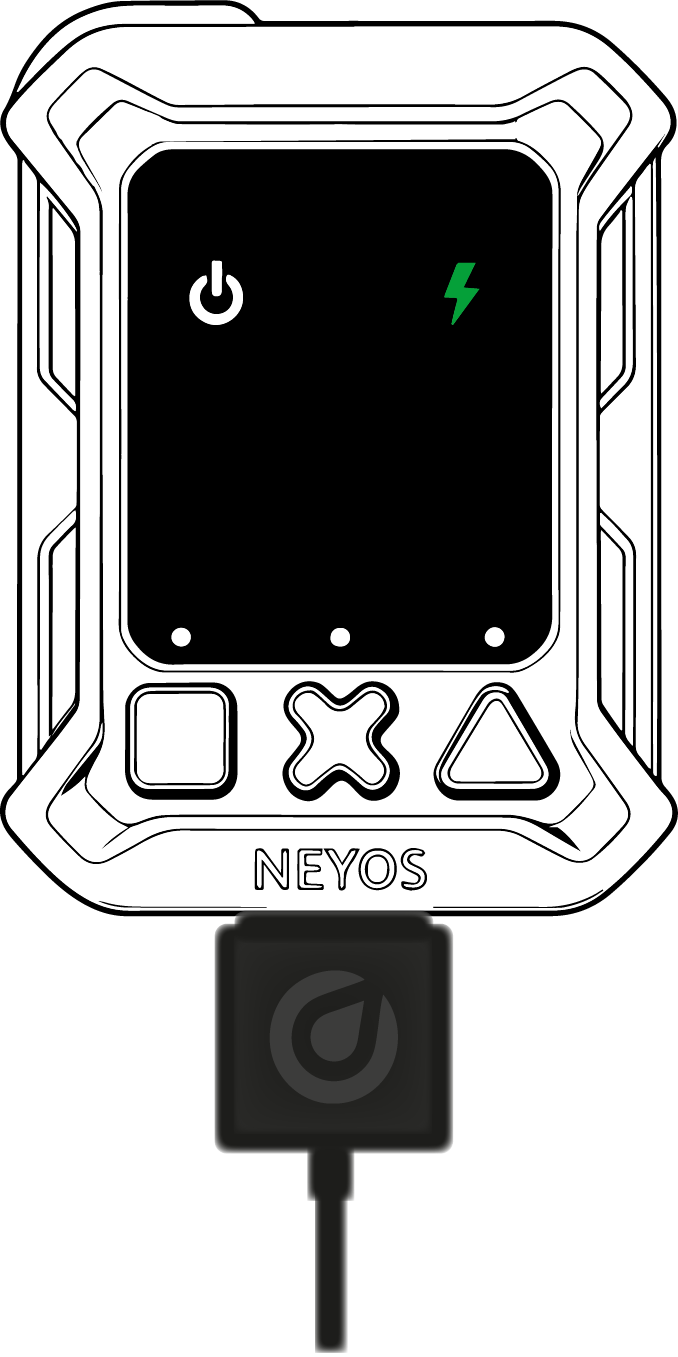
The tracker is fully charged
The LED turns solid green: the battery is fully charged. You can unplug the cable, OTRAC is ready to be used again.